How to Build an Architectural Model House
Building an architectural model house is a useful practice that students, architects, designers, and hobbyists can use to model design ideas in the third dimension.
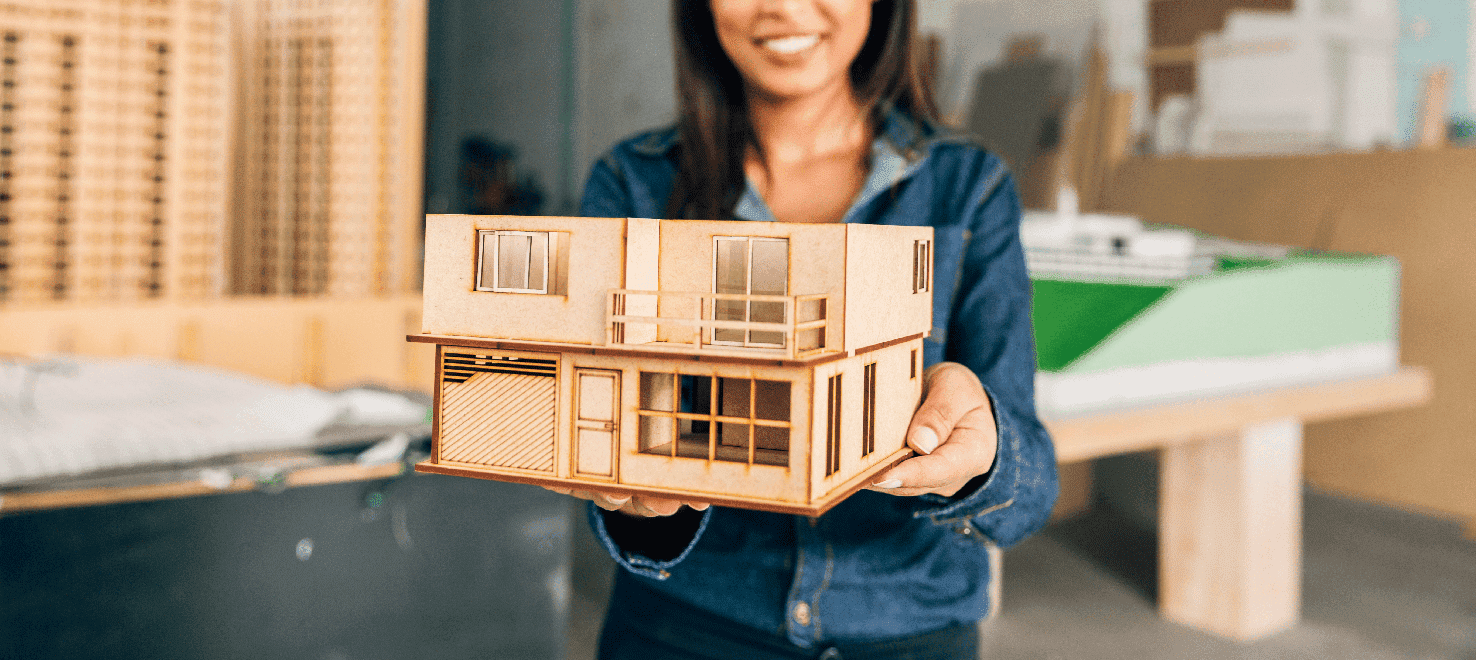
Building an architectural model house is a useful practice that students, architects, designers, and hobbyists can use to model design ideas in the third dimension. A model can be used to convey spatial relationships, proportions, materials, and the overall design intent in a better way than plain drawings do. An architectural model transforms ideas into a physical form, whether in scholarly work, client work, or personal study. Although it takes time, it has to be precise and planned; architectural drafting services in USA can provide the accurate drawings needed to guide the process. It might not need any sophisticated tools or costly materials. Through a proper strategy and step-by-step procedure, any individual can create a transparent, precise, and aesthetically pleasing architectural design model. From the selection of the scale to the final assembly of the final details, every step leads to a professional outlook of the model that shows well the desired house design.
Purpose of the Model
Prior to beginning the construction, identify the use of the architectural model. The detail, materials, and scale of the model will be determined by the purpose of the model being constructed. Concept models are usually very basic and revolve around massing and shape, whereas presentation models are more detailed.
In professional practice, architectural models are often developed directly from CAD drafting services, where accurate plans, elevations, and sections serve as the foundation for translating two-dimensional drawings into a physical three-dimensional form.
Models may be used for:
-
Exploration and testing of design.
-
Scholarly work or studio reviews.
-
Client presentations
-
As a marketing object or display object.
Knowledge of the objective assists in deciding the extent of time, detail, and material investment that is required.
Choose the Right Scale

One of the key decisions in the construction of a model house is scale. It establishes the magnitude, the detail, and the clarity of the design. The usual architectural scales are 1:50, 1:10,0 and 1:200.
When choosing a scale, take into consideration the following things:
-
Available display space and working area.
-
Required level of detail
-
Complicated house design.
The bigger the scale, the more detailed the result will be, but a bigger scale will use more time and will consume more materials, whereas the smaller scale will be easy to construct and transport.
Gather Materials and Tools
Use of appropriate materials will be accurate and durable. The materials are supposed to be simple to cut, construct, and finish.
Common materials include:
-
Foam board and mounting board for walls and roofs.
-
Structural elements such as cardboard and illustration board.
-
Balsa wood or basswood for framing and detailing stone.
-
Clarified acrylic window sheets.
The required tools normally include:
-
Precision cutter or craft knife.
-
Steel ruler and cutting mat
-
Glue (PVA, contact adhesive, or hot glue)
-
Pencil and measuring scale
Quality tools enhance accuracy and minimize errors.
Prepare the Base and Site Layout
The base denotes the place where the house is located. It gives the model some democracy and stability. Take a hardboard that is only slightly bigger than the area of the house.
The preparation steps of the base include:
-
Indicating the footprint of the house correctly.
-
Marking paths, drives, or gardens.
-
Labeling orientation where necessary.
A high-quality, straight base reflects well and makes the model structurally stable.
Cut and Assemble the Walls
Starting the construction, cut off the walls as per the scaled drawings. At this point, accuracy is important; any slight error can influence the alignment in the later stages.
Key tips for wall assembly:
-
Mark and measure all cuts.
-
Pre-assembly cut window and door openings.
-
Fit together to make sure everything is aligned.
-
Install perpendicular glue walls with the help of supporting or guiding.
Let every part dry out and then proceed, as it does not get misaligned.
Install Floors and Roof Structure

When the walls are in place, the floor slabs and roof structure can be added. Floors make the model stable, and a floor plan drawing service can help provide accurate dimensions for the floor layout, whereas the roof shapes the architectural form.
Construction of the roof may entail:
-
Foam board flat roofs.
-
Layered sheet roofs.
-
Hung over realistic proportions.
Make sure that the roof is fitted correctly and fits properly along the wall. Too much glue may be seen, so be careful.
Include Doors, Windows, and Openings
The model is given realism and scale reference through doors and windows. These aspects ought to be well-balanced and well-polished.
Common techniques include:
-
Glazing it with clear plastic.
-
Borders surrounding with slabs of thinner card or wood.
-
Maintaining the thickness of the window.
Detailing is simplified, and the excessively detailed features in particular are frequently more effective at smaller scales.
Apply Finishes and Textures to the Exterior
External decorations are used to depict substances like brick, wood, or concrete. Such finishes are to be rather subtle and clean.
Current finishing methods may include:
-
Use neutral or light colors to paint.
-
Using reality textures by printing.
-
Proposing cladding through the use of thin layers of material.
Do not use heavy textures, which distract from the overall form. Minimalist finish is usual in architectural models.
Add Basic Interior or Landscape Objects (Optional)
You can add simple interior designs or landscape features around it, depending on the intention.
Optional elements include:
-
Wall of an interior or a staircase.
-
Trees, grass, or pathways
-
Fences or boundary walls
Such additions are contextual and enhance visual perception and interpretation, but not at the expense of the underlying framework.
Hone Details and Clean the Model
The last finishing enhances the professionalism of the model. Check the edges, joints, and surfaces thoroughly.
Final refinement steps:
-
Kill off excess glue or roughness.
-
Make sure that walls and roofs are matched.
-
Touch up paint or surfaces.
A white finish can be more impressive than the additional detail.
Current and Safeguard the Model
When finished, produce the model and place it on a clean surface, and label it where necessary. It is important to take care of the model in order to prevent dust and damage, particularly when making a presentation or evaluation.
It is also important to cover the model with a transparent case in order to preserve the state of this model or keep it in a safe box.
Conclusion
The development of an architectural model home is a fulfilling and rewarding experience that involves creativity, technical expertise, and detailing. With a clear purpose of the model, the right scale, and the right materials, you can have a model that is accurate and visually appealing of a house design. Professional results are possible through careful planning, accurate cutting, and assembly which is clean. Whether used academically, professionally, or personally, a well-designed architectural model is cost-effective in communicating design intent as well as making architectural ideas real in a solid form.
FAQs
What is the best scale for a beginner's architectural model?
A 1:100 scale would be best when the person is a beginner, since it is not too detailed and is easily built.
Do I need expensive tools to build an architectural model house?
No, basic tools like a craft knife, ruler, and glue are sufficient for most models.
How long does it take to build an architectural model house?
The time varies depending on complexity, but most models take anywhere from several hours to a few days to complete.