How to Fix Surface Scratches at Home Using a Car Scratch Remover - Step by Step Guide
Discovering a fresh scrape, door-ding mark, or wash swirl on your car's finish is frustrating, but it does not always require an expensive trip to a body shop.
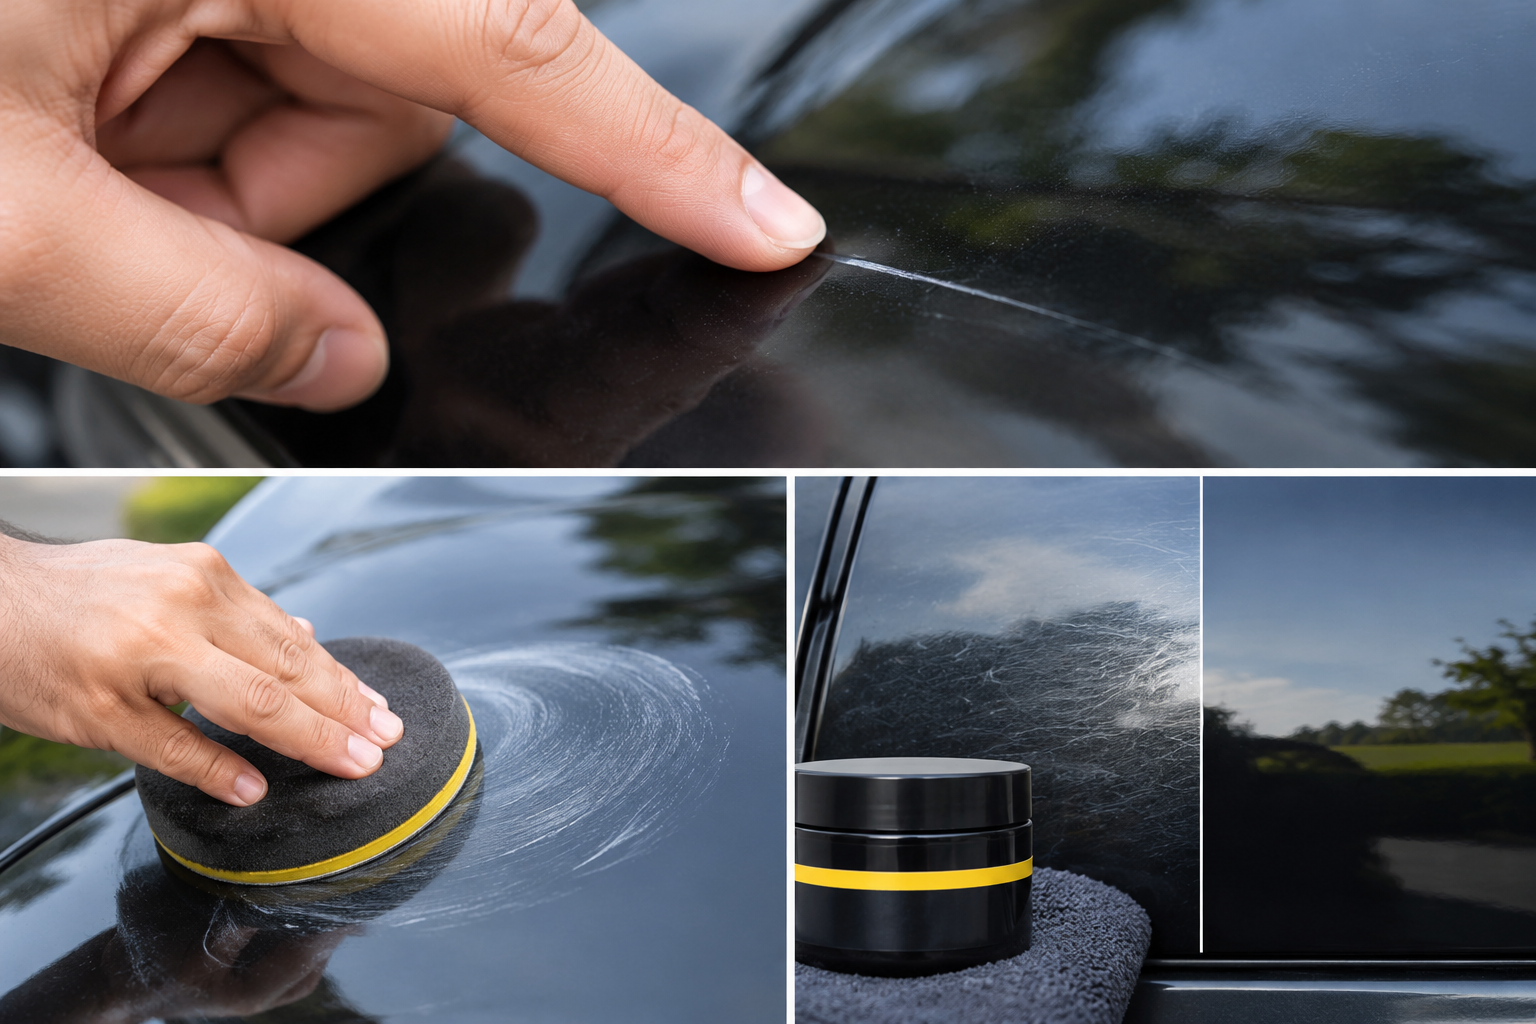
Discovering a fresh scrape, door-ding mark, or wash swirl on your car's finish is frustrating, but it does not always require an expensive trip to a body shop. Most everyday paint blemishes from overgrown shrubs, shopping carts, or gritty wash mitts are confined to the clear coat layer.
With proper technique and a dedicated car scratch remover, you can permanently restore your vehicle’s factory gloss at home in under half an hour.
The Fingernail Test: Can a Car Scratch Remover Fix It?
Before reaching for any compound, you need to diagnose the scratch depth. Modern automotive paint consists of three layers: primer, base coat (color), and the clear coat on top.
Run your fingernail gently across the scratch:
-
Your nail glides smoothly over it: The defect is only in the clear coat. A corrective compound will remove it completely.
-
Your nail catches in the groove: The damage has penetrated deeper into the color coat or primer. This requires automotive touch-up paint rather than a buffing compound.
-
You see metal, plastic, or primer (grey/white): The panel requires professional body repair.
What to Look for in an Effective Car Scratch Remover
Not all scratch repair products work the same way. Budget options often rely on temporary silicone glazes or oils that merely fill the scratch; after two or three rainstorms or car washes, the fillers wash away and the blemish returns.
To achieve permanent clear coat correction:
-
Nano-Particle Abrasives: True correction requires micro-abrasive tech that levels the surrounding clear coat edges to reflect light evenly.
-
Heavy-Duty Paste Consistency: Paste compounds stay in place on vertical panels (like doors and quarter panels) better than runny liquids, allowing for controlled friction.
-
Clear Coat Safety: The formula should eliminate blemishes, severe hazing, and wash swirls without causing paint burn or dulling the factory pigment.
A proven example that meets these criteria is the FTI Scratch Gone Scratch Remover (227ml). Engineered as a heavy-duty nano-particle paste, it diminishes deep clear coat hazing and paint abuse while restoring original paint depth and clarity.
Step-by-Step Guide: How to Apply a Car Scratch Remover
Step 1: Wash and Decontaminate the Panel
Never work on dirty paint. Trapped road grit under your applicator acts like sandpaper, creating deeper scratches. Wash the area thoroughly with car shampoo, rinse, and dry it completely with a clean microfiber towel. If old wax or sealant is present, wipe the area with a panel prep spray or diluted isopropyl alcohol.
Step 2: Prep the Product and Applicator
Always work in the shade on a panel that is cool to the touch.
-
Take a high-density foam applicator pad or a microfiber buffing pad.
-
Scoop or squeeze a dime-sized amount of FTI Scratch Gone paste onto the pad. Avoid dabbing compound directly onto the vehicle’s dry paint.
Step 3: Work the Compound Using Cross-Hatch Motions
Press the pad against the scratched area using moderate, consistent pressure:
-
Move the pad horizontally back and forth across the scratch for 30 to 45 seconds.
-
Immediately switch to vertical up-and-down motions over the same spot.
-
Continue working until the paste begins to break down into a light, semi-translucent film.
Pro Tip: Avoid wide, circular motions. Straight, overlapping lines provide uniform abrasive breakdown and prevent compounding swirl marks.
Step 4: Buff Off Residue and Inspect
Take a clean, dry microfiber towel (300+ GSM) and wipe away the leftover residue in one light pass. Inspect the surface under direct sunlight or with an inspection light held at a 45-degree angle.
If the scratch is faint but still slightly visible, repeat the process with another dime-sized drop. Two moderate passes are always safer for your clear coat than applying excessive downforce in a single attempt.
Step 5: Seal and Protect the Finish
Because compounding strips away existing wax and protective barriers, seal the freshly restored area immediately. Apply a layer of synthetic paint sealant, carnauba wax, or a ceramic spray to guard against UV oxidation and road grime.
Restore Your Car's Finish Without the High Shop Bill
Minor paint defects do not have to hurt your vehicle's curb appeal or resale value. By confirming the scratch is within the clear coat and using a heavy-duty nano-paste like FTI Scratch Gone at AutoPlus Mart, you can achieve permanent, professional-grade scratch repair right at home.