Professional Plastering Works: Materials, Grid Lines, Thickness and Site Best Practices
Learn practical plastering techniques for walls and ceilings. Discover material selection, mixing ratios, surface preparation, and curing tips for crack-free, durable plaste
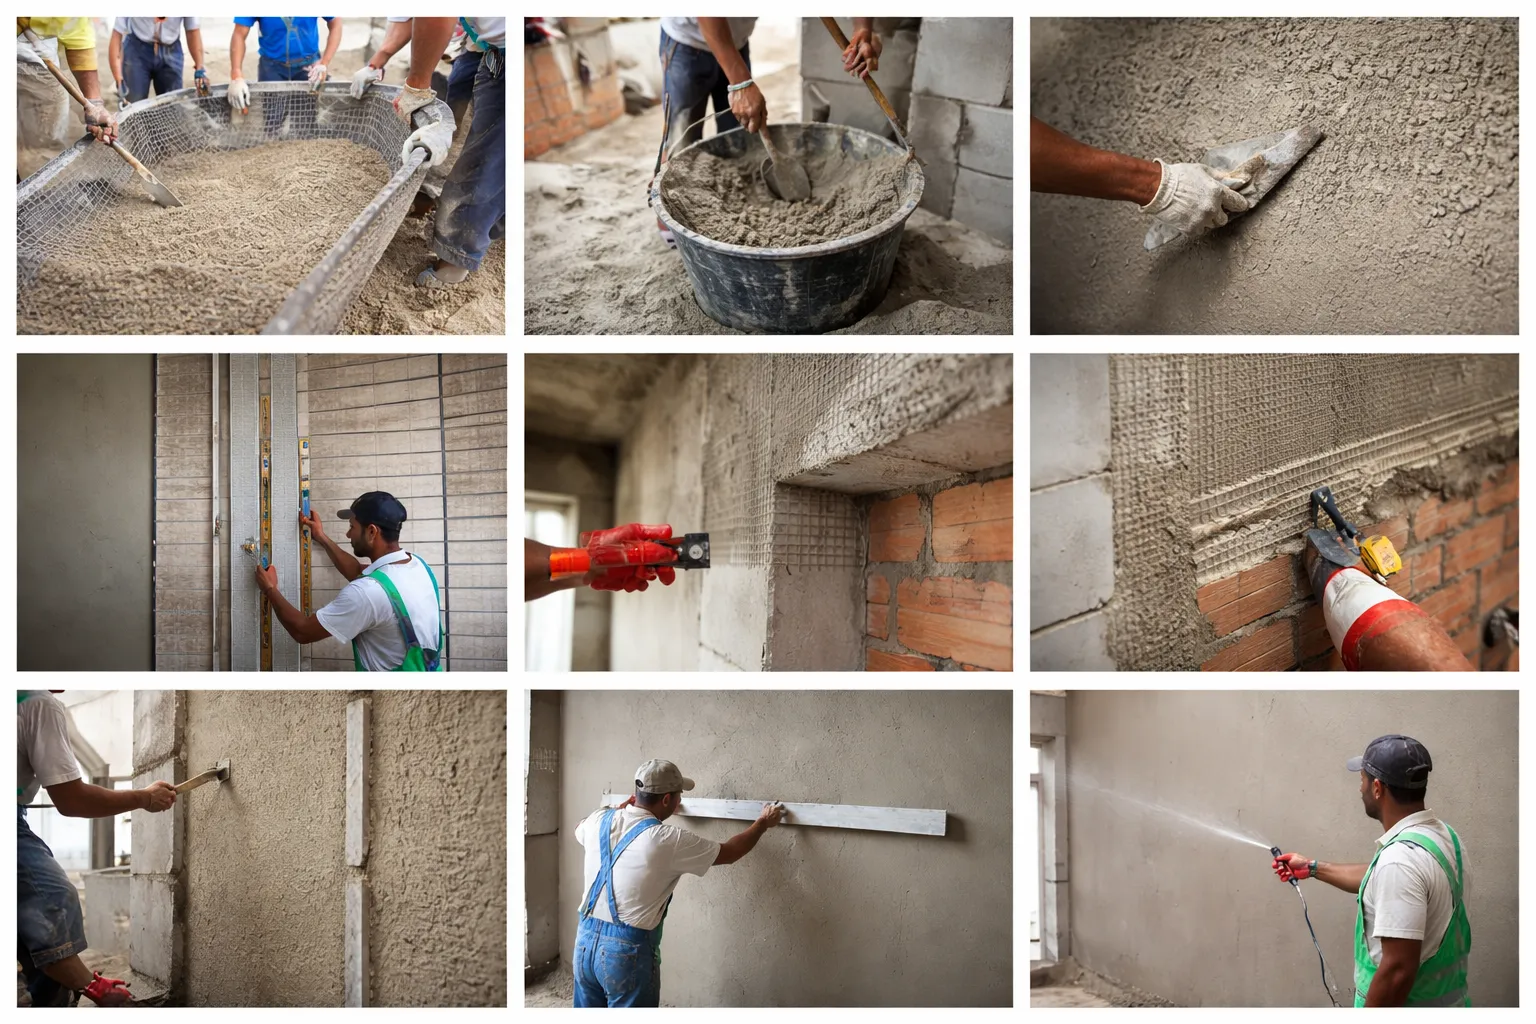
Why Plastering Is More Than Decoration
Plastering isn’t just about aesthetics—it protects your structure, ensures smooth finishes, and prevents cracks.
During the Kempinski Gold Coast Project, I noticed common plastering mistakes: uneven walls, poor bonding, and cracks caused by wrong materials or poor technique. With careful observation and experimentation, I found methods that work best for tropical climates like Ghana.
1. Use the Right Materials
Material quality is the foundation of good plastering.
-
Sand: Avoid high NaCl (salt) content—it causes efflorescence and cracks.
-
Water: Use clean, potable water. Contaminated water reduces bond strength.
Tip: Test your sand and water before large-scale plastering.
2. Mixing Ratios Matter
Cement-to-sand ratios affect plaster strength and durability:
| Climate / Area | Cement per 1 m³ Sand |
|---|---|
| Standard | 350 kg |
| Humid areas | 400 kg |
| Hot climates | 450 kg |
On-site trials in Ghana showed 450 kg per m³ of sand produced the strongest, crack-free plaster.
Tip: Mix small samples and monitor for 7 days before full-scale application.
3. Timing Is Critical
-
Use plaster within 1.5 hours of mixing.
-
Waiting longer reduces bonding and increases cracking risk.
4. Linking Concrete and Masonry
Correct bonding prevents future cracks:
-
Galvanized steel mesh corrodes → cracks
-
Fiber reinforcement is safer and durable.
5. Surface Preparation – Scratch Coat
Surface prep ensures plaster sticks:
-
Clean walls: Remove dust, debris, and loose wood
-
Cure walls with water
-
Spray coat (scratch coat):
-
1 bag cement + 1 wheelbarrow sand covers ~40 m²
-
Use a bucket, not the ground
-
-
Concrete surfaces: Hack or sandblast to improve adhesion
-
Bonding agent (optional): e.g., Sika Latex 107.
6. Setting Grid Lines
Accurate grids ensure:
-
Straight walls
-
Squared rooms
-
Correct building orientation
How to do it:
-
Use a plumb bob for main axes
-
Check 90-degree angles (3:4:5 rule)
-
Transfer axes to all floors.
7. Plaster Guides (Screeds)
Guides define wall thickness and uniformity:
-
Use cement guides only; gypsum causes cracks
-
Vertical guide every 2 m
-
Horizontal guide: 2 per 3 m height
-
Recommended thickness:
-
Walls: 2–2.5 cm
-
Ceilings / slabs: 1.5–2 cm
-
8. Quality Control During Application
-
Use a straight edge on the wall
-
Shine light behind it → check for uneven pressure
-
Correct uneven areas immediately
Tip: Proper application avoids painting defects and false ceiling alignment problems.
9. Final Curing
Curing is essential for strength and durability:
-
Keep walls damp for several days
-
Prevent cracks and surface shrinkage.
Key Takeaways
Plastering is engineering, not just decoration. By using:
-
Proper materials
-
Accurate mixing ratios
-
Careful surface preparation
-
Precise grids and guides
-
Adequate curing
…you can achieve crack-free, durable, and smooth plaster even in challenging climates.
-
Author name: Ali Omar
-
Job title: Civil Engineer / Project Manager
-
LinkedIn URL:www.linkedin.com/in/ali1omar