How to Repair a Loose Door Hinge in a Wood Door Frame
A loose door hinge does not always require a new door frame. Learn how to diagnose stripped screw holes, restore solid wood, and realign the door.
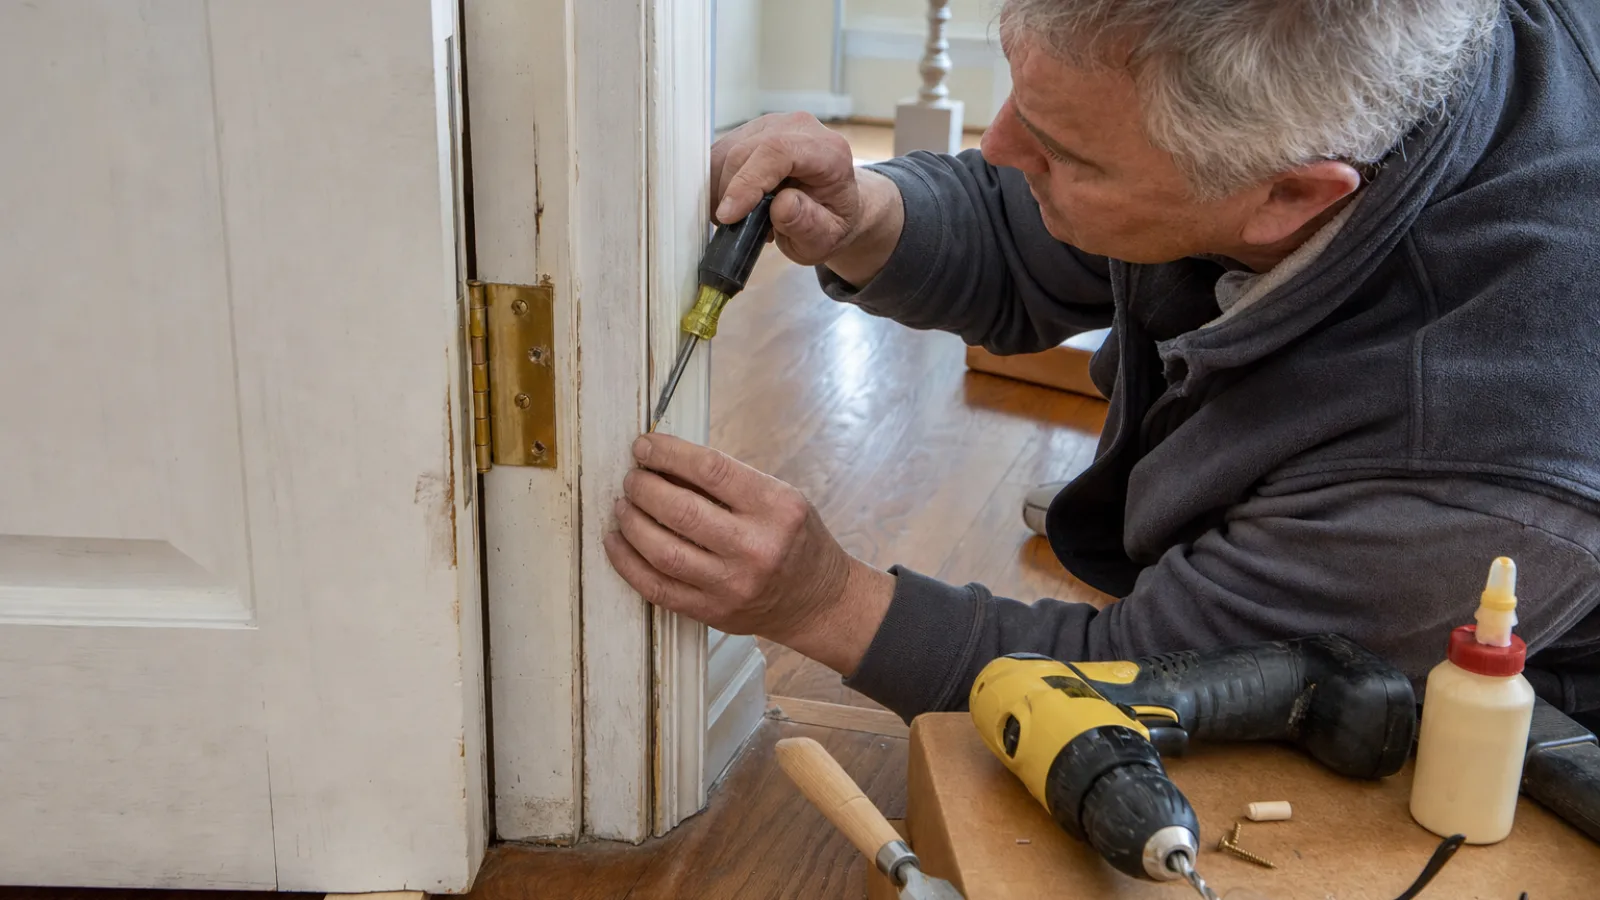
A loose door hinge can make a door sag, scrape the floor, refuse to latch, or wobble during operation. In many cases, the hinge is still serviceable; the problem is that its screws no longer grip the wood in the door jamb. You can often repair a loose door hinge without replacing the entire frame by restoring a solid anchor for the screws and then checking the door alignment.
Before buying replacement hardware, compare the hinge size, screw head style, and installation requirements with reliable National Hardware door hardware resources. The appropriate repair depends on whether the screws are merely loose, the holes are stripped, the jamb is split, or the framing behind the jamb has been damaged.
Key Takeaways
- Start by identifying whether the failure is a loose screw, stripped wood, damaged hinge, or weakened door jamb.
- Use a longer screw only when it can safely reach sound framing behind the jamb.
- Repair an enlarged hole with a hardwood plug or dowel, then drill a centered pilot hole after the adhesive cures.
- Support the door, repair one hinge at a time, and preserve the hinge leaf’s original position.
- Test the door repeatedly and investigate any movement that returns after the repair.
Diagnose the Loose Door Hinge First
Open the door about halfway and lift it gently by the handle side. If the door moves upward and the top hinge shifts away from the jamb, the hinge screws are probably loose or stripped. Do not force the door upward because excessive movement can enlarge the damage.
Inspect each hinge, beginning with the top hinge because it carries much of the door’s load. Look for:
- Screw heads that sit proud of the hinge leaf or turn without tightening.
- Holes that look enlarged, ragged, or packed with loose wood fibers.
- A hinge leaf that is no longer flush with the jamb or door edge.
- Cracks extending outward from a screw hole or along the edge of the jamb.
- Loose hinge pins, bent leaves, or a hinge that binds as it moves.
- A door that remains misaligned after the screws are tightened.
If the screws tighten firmly and the hinge stays flush, the cause may be hinge wear, a bent hinge, a swollen door, or movement in the frame rather than stripped screw holes. A jamb split through its full thickness may require removing trim and reinforcing or replacing part of the frame.
Tools and Materials for Loose Door Hinge Repair
Gather the materials before removing screws so the door is not left unsupported. Depending on the damage, you may need:
- A matching screwdriver or drill-driver bit.
- A drill and correctly sized pilot bits.
- A sharp utility knife and small chisel.
- Wood glue and hardwood dowels, wooden plugs, or purpose-made repair plugs.
- Replacement screws with the correct head style and diameter.
- Longer screws that can reach sound framing, where appropriate.
- Two-part wood epoxy for localized damage that cannot hold a plug securely.
- Clamps or temporary support blocks.
- A level, tape measure, safety glasses, and a door wedge.
Use solid wood for the repair rather than relying on soft filler. Spackle, caulk, and lightweight wall filler may look smooth but do not provide a dependable anchor for hinge threads. For a heavy exterior or solid-core door, use a helper, door jack, or temporary support blocks.
Choose the Right Repair Method
The least invasive solution is usually best. Retightening works when the original screw still grips sound wood. A longer screw may solve the problem when the original screw has stripped only the shallow portion of the jamb and structural framing is available behind it. A wood plug is better when the hole itself is enlarged. Epoxy can stabilize irregular or partially damaged wood, but it should not conceal a severely split jamb or replace structural reinforcement.
| Repair method | Best use | Main caution |
|---|---|---|
| Retighten existing screws | Screws are loose but still grip sound wood | Do not over-tighten and crush the fibers |
| Longer screws | Sound framing is close behind the jamb | Check for hidden wiring, plumbing, and clearance |
| Wood plug or hardwood dowel | The hinge hole is stripped or enlarged | Allow adhesive to cure and drill a centered pilot |
| Two-part wood epoxy | Small, irregular areas need consolidation | It cannot correct major splitting or rot |
| Jamb reinforcement or replacement | The frame is cracked, crushed, or structurally weak | Usually requires trim removal and advanced carpentry |
Prepare the Door and Frame
Close the door or place a wedge under its free edge to reduce strain on the hinges. If the hinge is badly detached, have another person hold the door while you work. Do not remove every hinge at once. Keeping the remaining hinges attached helps preserve the door’s position and limits stress on the frame.
Work on one hinge at a time, starting with the hinge that has the most movement. Remove the screws from the jamb leaf and keep them in a small container. If the hinge leaf is still approximately aligned, mark its outline lightly with a pencil before removing it.
Brush loose fibers and dust out of each hole. Use a utility knife or chisel to remove splintered wood that prevents the hinge leaf from sitting flat, but avoid widening the recess unnecessarily. Inspect for cracks, soft wood, moisture damage, or a void behind the jamb. New screws will not hold reliably in rotten or severely deteriorated wood.
How to Repair a Loose Door Hinge Step by Step
1. Test a suitable longer screw
If the original screw is short and the jamb is otherwise solid, determine whether a longer hinge screw can reach structural framing behind the jamb. The replacement must have a compatible diameter and head style so it seats correctly in the hinge countersink. Drill a pilot hole through the hinge hole before driving it.
Do not assume that a longer screw is automatically stronger. Avoid driving blindly into areas that may contain electrical cables or plumbing. The screw must not be so long that it interferes with the door stop, weatherstrip, or opposite side of the frame. Drive it until the hinge is snug and flush, then stop; excessive torque can strip the new grip.
2. Install a wood plug for a stripped hole
When no adequate framing is available behind an enlarged hole, drill the damaged opening clean and round only as large as necessary to accept a hardwood dowel or repair plug. Cut the plug slightly longer than the hole depth. Apply suitable wood glue to the plug and hole, press the plug into place, and allow it to cure according to the adhesive manufacturer’s instructions.
After curing, trim the plug flush with a sharp chisel. Reposition the hinge leaf using its original outline, hold it flat, and drill a pilot hole through the hinge hole into the center of the plug. The pilot should be slightly smaller than the screw’s solid shank so the threads grip without splitting the plug. Start the screw by hand and tighten it until the hinge is seated.
3. Use epoxy for localized irregular damage
If the hole has ragged edges or a small amount of missing wood that will not accept a clean plug, compatible two-part wood epoxy may consolidate the area. Remove dust, mix the epoxy as directed, and fill the damaged section without allowing material to build above the hinge recess. Once cured, level the repair and drill a fresh pilot hole.
Epoxy is not a cure for a jamb split from the hinge to the trim or weakened by rot. In that situation, the load must be transferred to sound framing with a reinforcement plate, repaired jamb section, or another appropriate carpentry solution.
4. Reattach the hinge in its original position
Set the hinge leaf back into its recess and start every screw by hand. Tighten the screws gradually in alternating order. Keep the hinge leaf flat against the jamb. If one corner lifts, back the screw out slightly and correct the position rather than forcing it down.
For a standard interior door, repair one hole at a time whenever possible. If the hinge was badly displaced, loosely install the screws first, close the door, and make small adjustments before final tightening.
Check Door Hinge Alignment and Test the Repair
Open and close the door slowly several times. Watch the gaps between the door and jamb along the hinge side, latch side, and top rail. The door should not scrape the floor, bind at the top corner, or spring open when released.
Check that the latch enters the strike plate cleanly. If the latch is slightly high or low, first confirm that all hinge screws are tight and that the hinge leaves are seated at their original depth. A small hinge adjustment may correct alignment; enlarging the strike opening too soon can conceal the underlying hinge problem.
Load and durability check
With the door open, lift gently at the handle side again. The repaired hinge should remain stable with no visible movement at the jamb. Operate the door repeatedly and listen for creaking, popping, or screw movement. Recheck the screws after several cycles and again after the door has been used normally for a short period.
If the repair loosens again, the problem may involve excessive door weight, a weak or split jamb, missing structural support behind the frame, or a damaged or undersized hinge. Repeating the same screw repair will not solve an underlying capacity problem.
Common Mistakes to Avoid
- Using filler as the anchor: Cosmetic filler is not strong enough to hold hinge threads under repeated movement.
- Over-tightening screws: Excessive torque strips fresh wood and can pull the hinge leaf out of its recess.
- Skipping the pilot hole: Driving directly into a plug or narrow jamb can split the wood.
- Changing hinge position unnecessarily: Even a small shift can create latch and gap problems.
- Removing every hinge at once: The door may drop, twist, or damage the remaining frame.
- Ignoring moisture or rot: New screws will not hold in deteriorated wood.
- Using an excessively long screw: It may strike hidden services or interfere with the frame.
When to Call a Professional
Contact an experienced carpenter or door specialist when the jamb is extensively split, the wood is rotten, the frame has pulled away from the wall, or a heavy exterior door cannot be safely supported. Professional assistance is also appropriate if you suspect hidden wiring or plumbing where longer screws would be installed.
The repair may require removing casing, exposing the framing, installing reinforcement, replacing a section of jamb, or resetting the door. These steps are more involved than plugging a screw hole but provide a durable solution when the frame itself has lost structural capacity.
FAQ About Loose Door Hinge Repair
Can I repair a loose door hinge without removing the door?
Usually, yes. Support the door, remove and repair one hinge at a time, and keep the other hinges attached. Removing the entire door may be necessary for a heavy door, a severely damaged jamb, or a repair requiring access to both sides of the frame.
Are longer screws the best fix for stripped hinge holes?
Only when they can safely reach solid framing behind the jamb. If the hole is enlarged through the jamb or no framing is available, a hardwood plug or dowel generally provides a better anchor.
What size screw should I use for a door hinge?
Use a screw with the same head style and a compatible diameter for the hinge countersink. Length depends on the jamb thickness and available framing. Confirm that it will not penetrate into hidden services or obstruct the frame rather than choosing by guesswork.
Why does my door still sag after tightening the hinge?
The screw may still be turning in damaged wood, the hinge may be bent or undersized, the jamb may be split, or the door may be twisted. Check the top hinge first, then inspect the frame and hinge leaves instead of repeatedly tightening the same screws.
Can I use toothpicks or wooden matches in a stripped hole?
They can provide a temporary repair for a lightly stripped interior-door hole, but a hardwood plug or dowel is generally more consistent and durable. Secure the material with suitable wood adhesive, allow it to cure, and drill a centered pilot hole before reinstalling the screw.
Final Checklist
- The door was supported before hinge screws were removed.
- Loose fibers, cracks, and moisture damage were inspected.
- The selected screw, plug, or epoxy matches the condition of the frame.
- Fresh pilot holes were drilled before final screw installation.
- The hinge leaf sits flush and in its original recess.
- The door closes, latches, and swings without scraping or binding.
- The repaired hinge remains stable after repeated operation.
Sources
National Hardware, door hardware resources and product installation information.
A loose hinge is often a localized wood-frame repair rather than a reason to replace the whole door unit. By supporting the door, restoring sound wood around the screw holes, and checking alignment before finishing, you can create a stronger repair and avoid turning a small hinge problem into a damaged jamb.